User Receive
- This screen will be used by installer and manager to receive inventory into their account
Receive by Serial Number
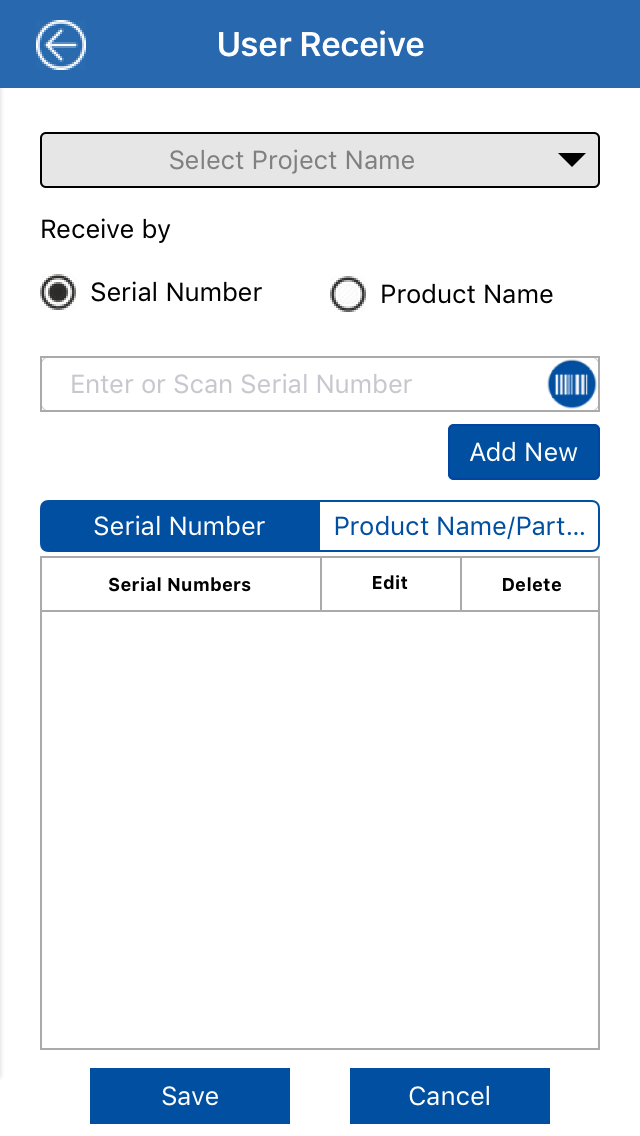
Steps
- Select project name from the drop down
- By default 'Serial Number' radio button will be checked to receive the inventory by serial number
- Enter the serial number manually in the input field and click on
 to add it into the grid
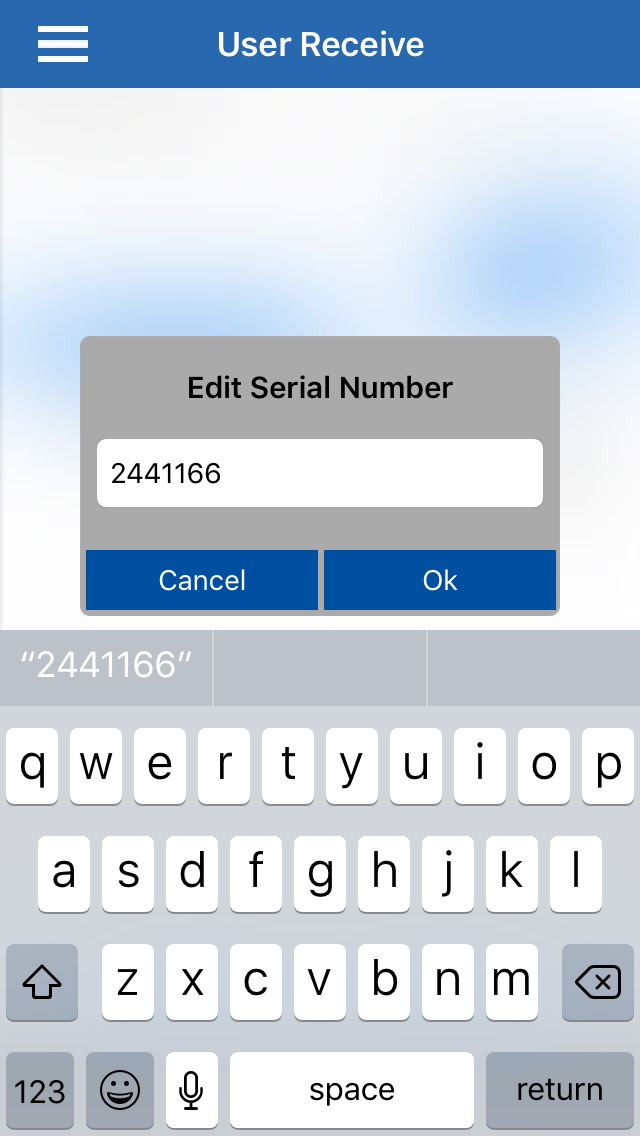
- Click on
 icon to scan the serial number of product. Following screen will open.
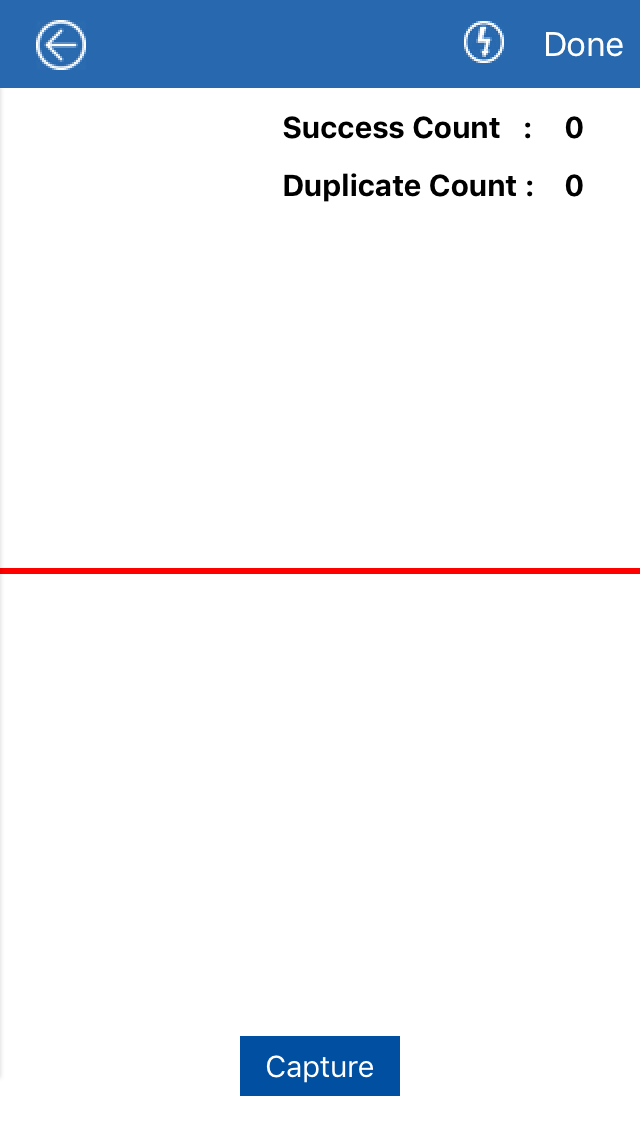
- Click on Capture button to open the barcode scanner
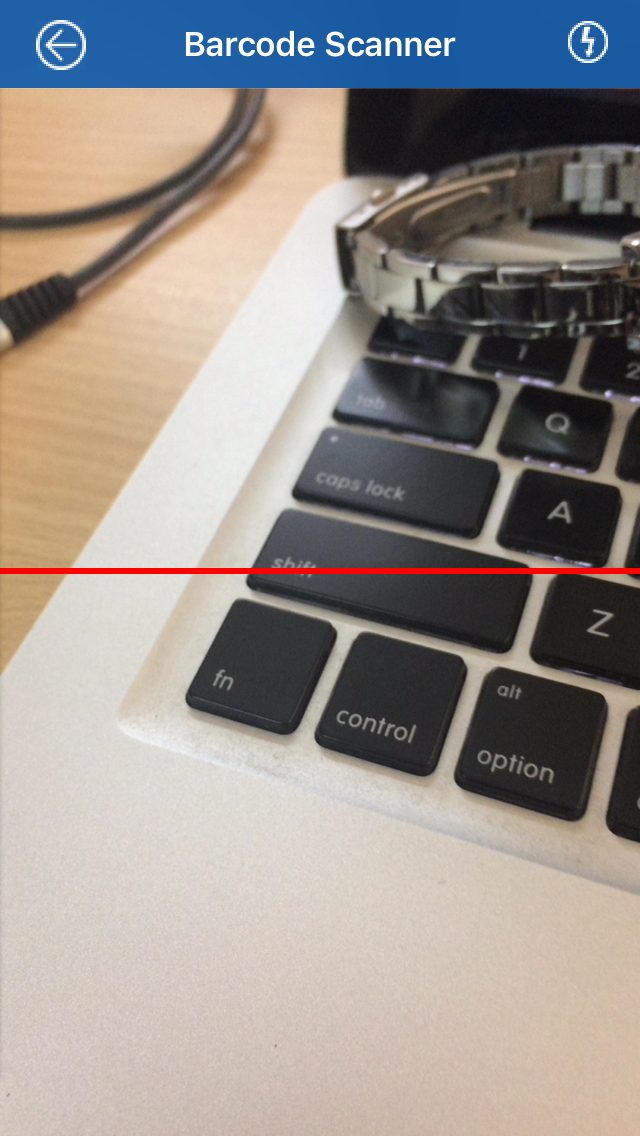
- Scan multiple serial number one by one
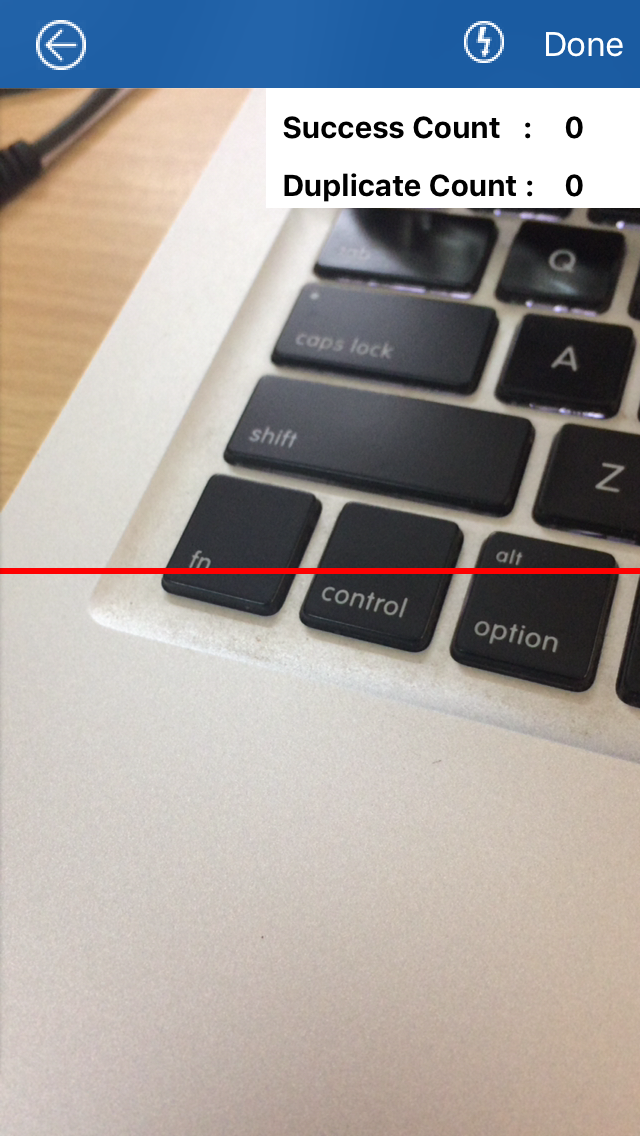
- Below screen will display the success and duplicate count
- Click on
 button once all serial numbers are scanned
7. Scanned Serial number will be displayed in below grid
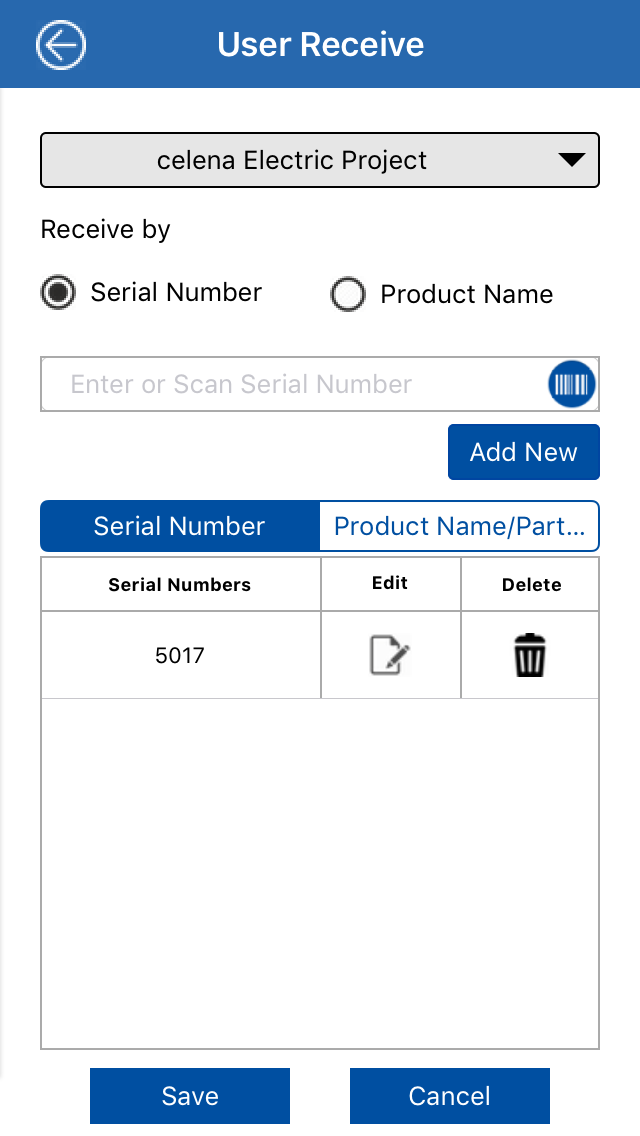
8. Click on  icon to edit the serial number
9. Click on  icon to delete the serial number
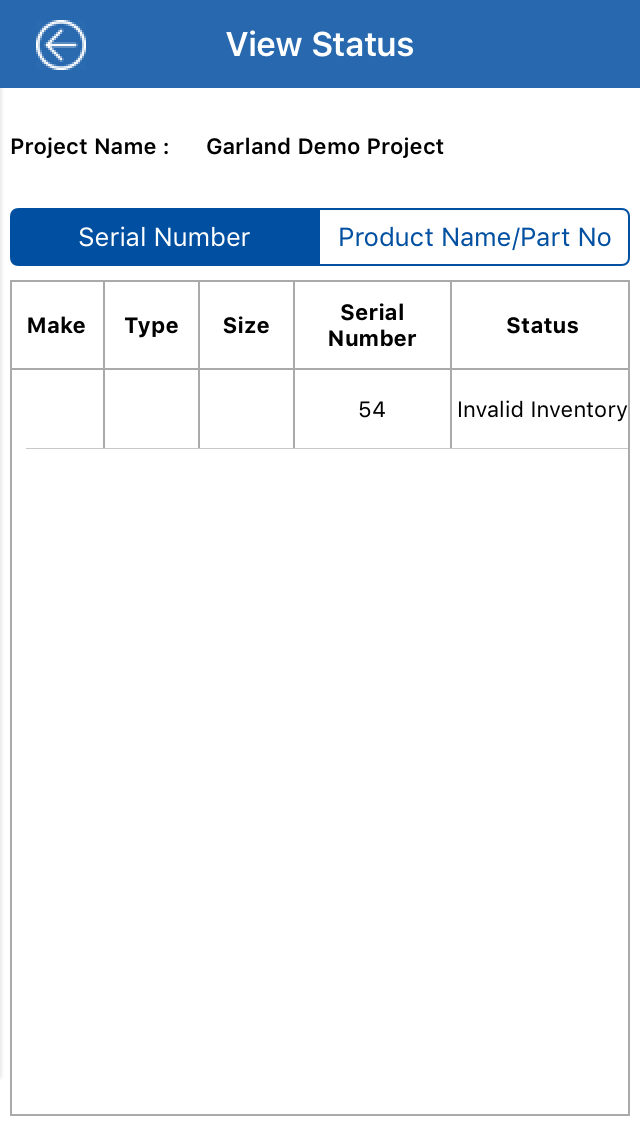
10. Click on  to view status of scanned serial number
11. Click on  to cancel the process
Receive by Product Name
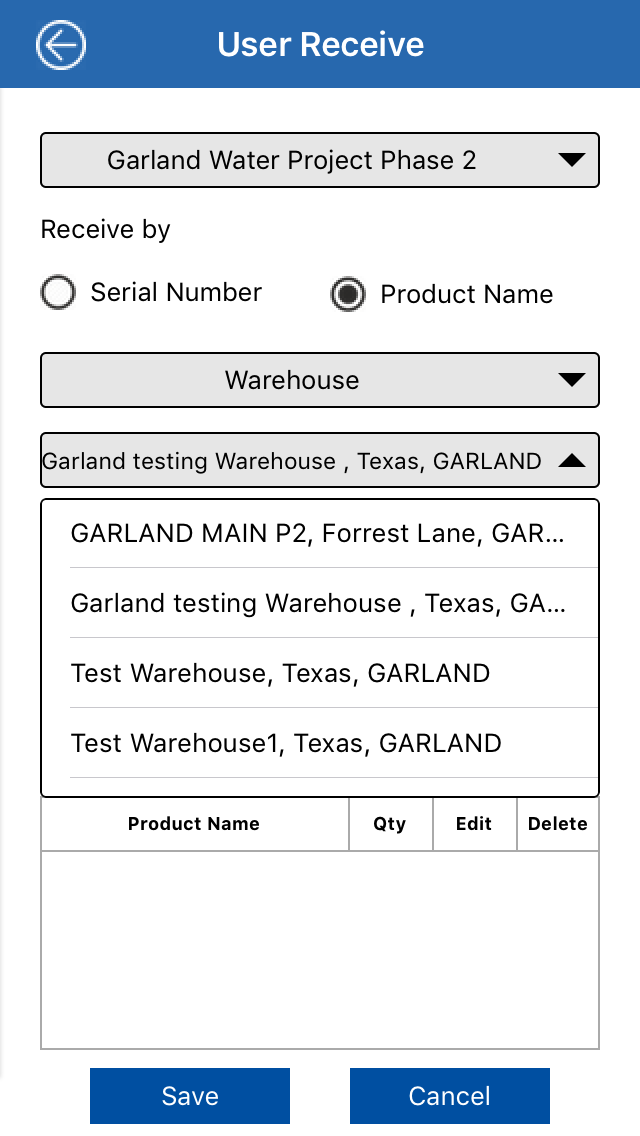
Steps
- Click on Product Name radio button to receive the inventory by its product name/ part number/ UPC code/ Barcode
- Select the receive from i.e warehouse/manager/installer
- Select the name of warehouse/manager/installer
- Select the utility type from the drop down
- Click on
 to scan the product name/part number/ UPC code
Or
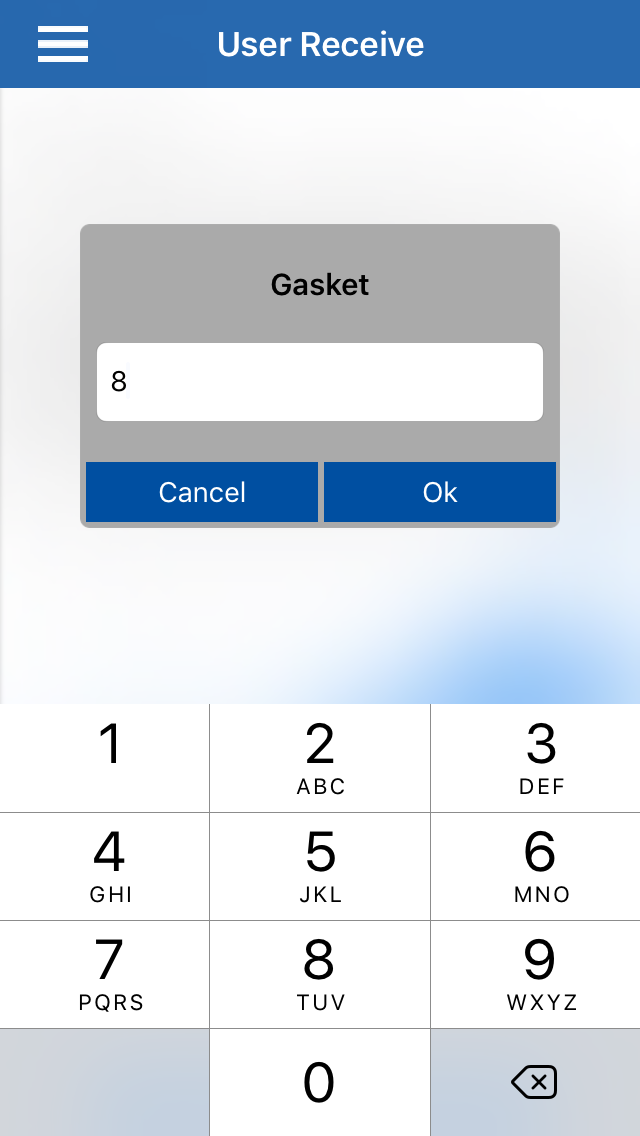
- Enter the product name/part number/ UPC code manually
- Enter the quantity to be received in input field
- Click on
 button to add the product into the grid
- Click on
 icon to edit the product quantity
- Click on
 icon to delete the product
- Click on
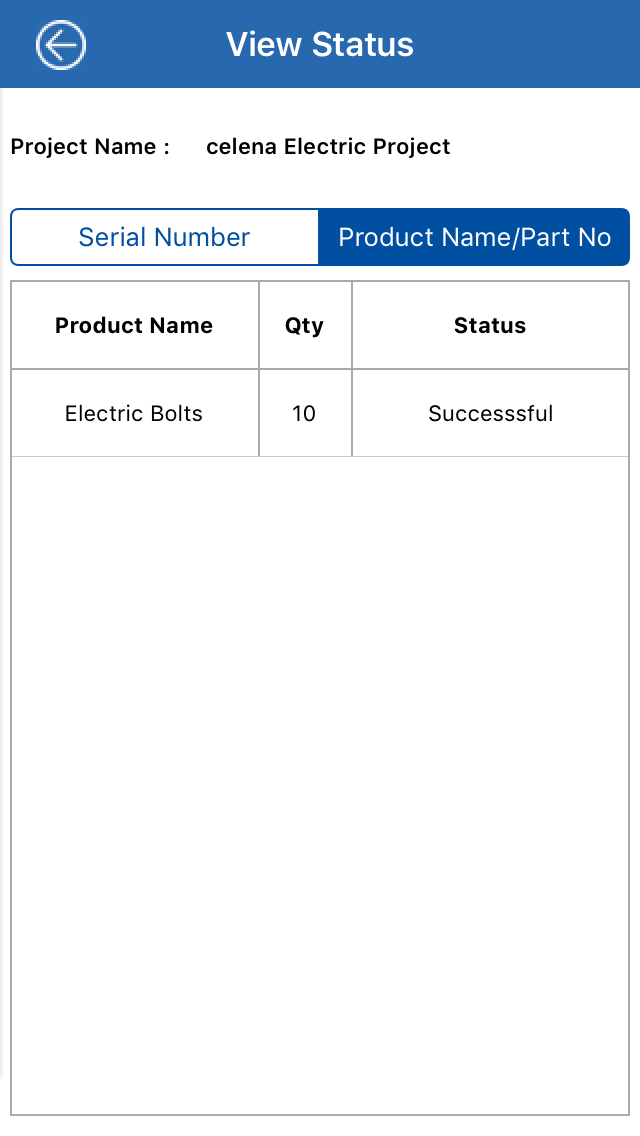
 to view status of inventory
- Click on
 to cancel the process
View Status - Serial Number
View Status - Product Name
Created with the Personal Edition of HelpNDoc: Produce Kindle eBooks easily