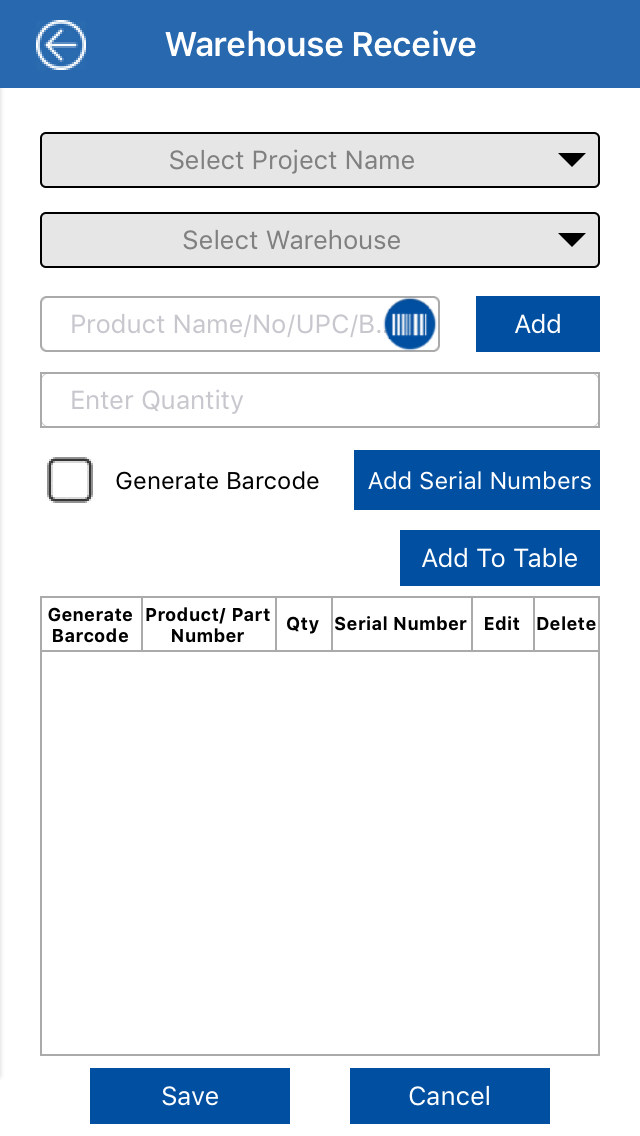
Warehouse Receive
- This screen will be used by warehouse manager to add inventory into the warehouse
Steps
- Select project name from the drop down
- Select warehouse name from the drop down
- Click on
 icon to scan the product name/part number/UPC code
Or
- Enter the product name/part number/UPC code manually in type to search field
Or
- Click on
 button to add the product in to the master if not available
- Select the utility type of product
- Select the product category, make, type and size
- Enter product name, description, part number and UPC code
- Select serial number radio button to track the product by its serial number
- Select consumables radio button to track the product by its quantity
- Tick on Generate barcode checkbox if the barcode needs to be generated for the product
- Click on
 button to complete the process

- Enter the quantity of product to be received
- Tick Generate Barcode checkbox to generate barcode of the product
- If the selected product is mapped to serial number
 button will be displayed
- Click on
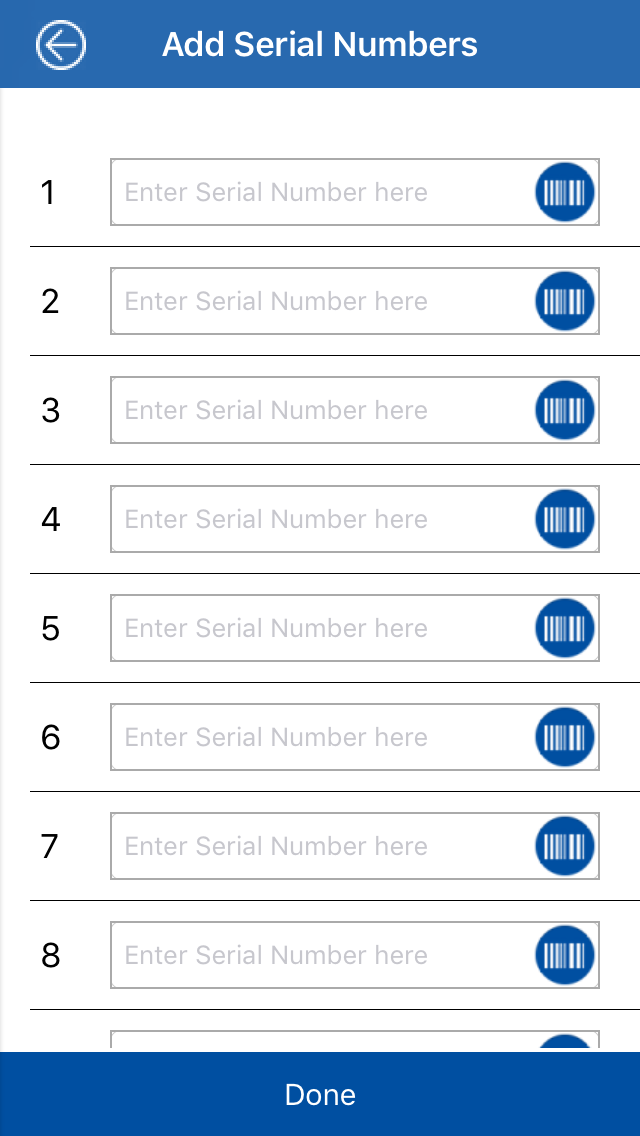
 to add the serial numbers of the product
Following screen will open
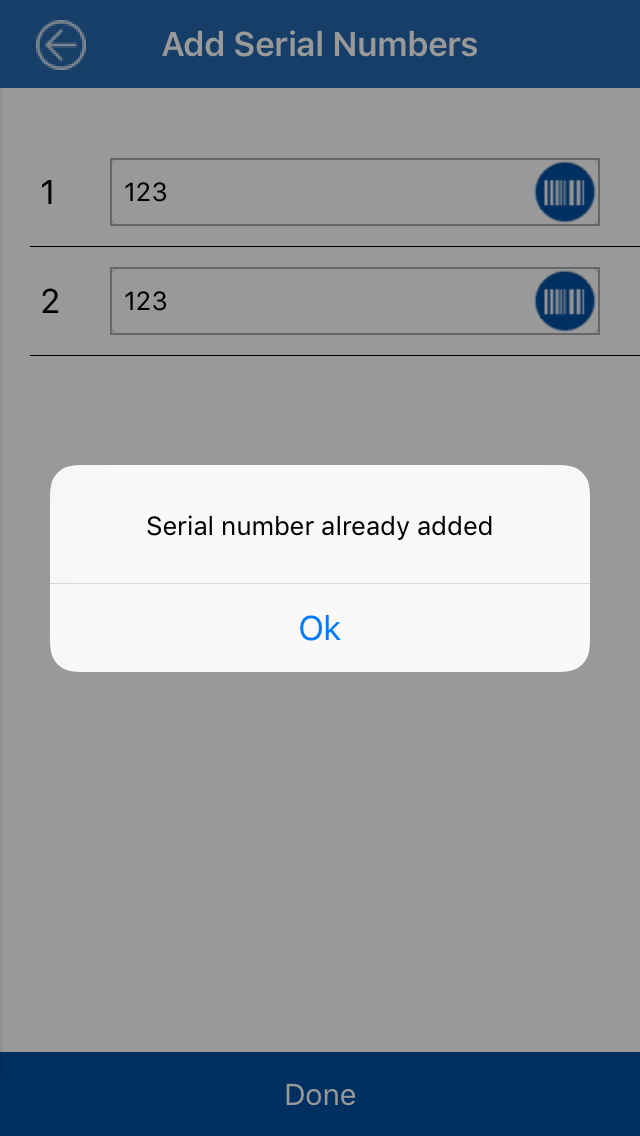
- Message will displayed if user enter duplicate serial number
- Click on
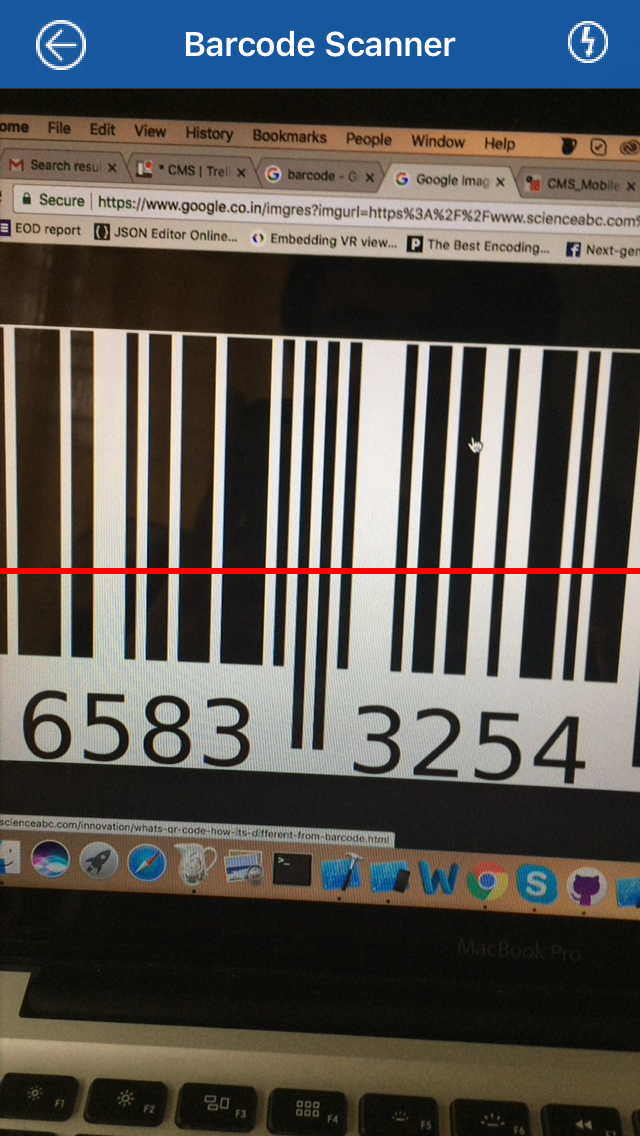
 icon to scan the serial number or enter it manually

- Click on Capture button to open the barcode scanner
- Click on
 button once all the serial numbers are entered or scanned.
- Click on
 to add the scanned serial numbers to the grid below
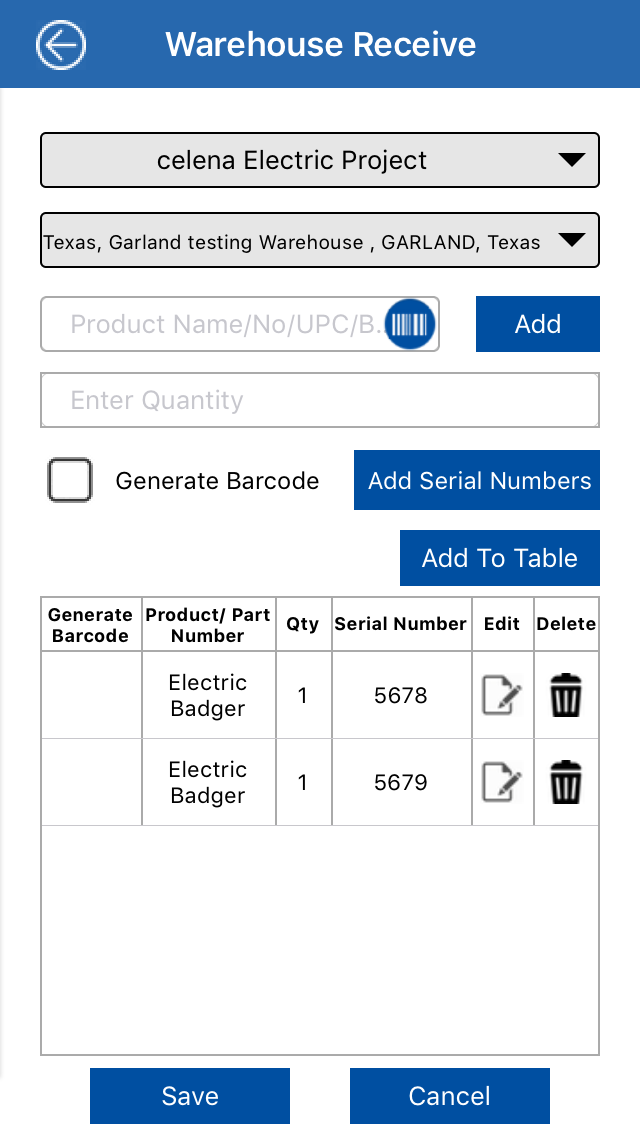
- Click on
 icon to edit the scanned serial number
- Click on
 icon to delete the scanned serial number
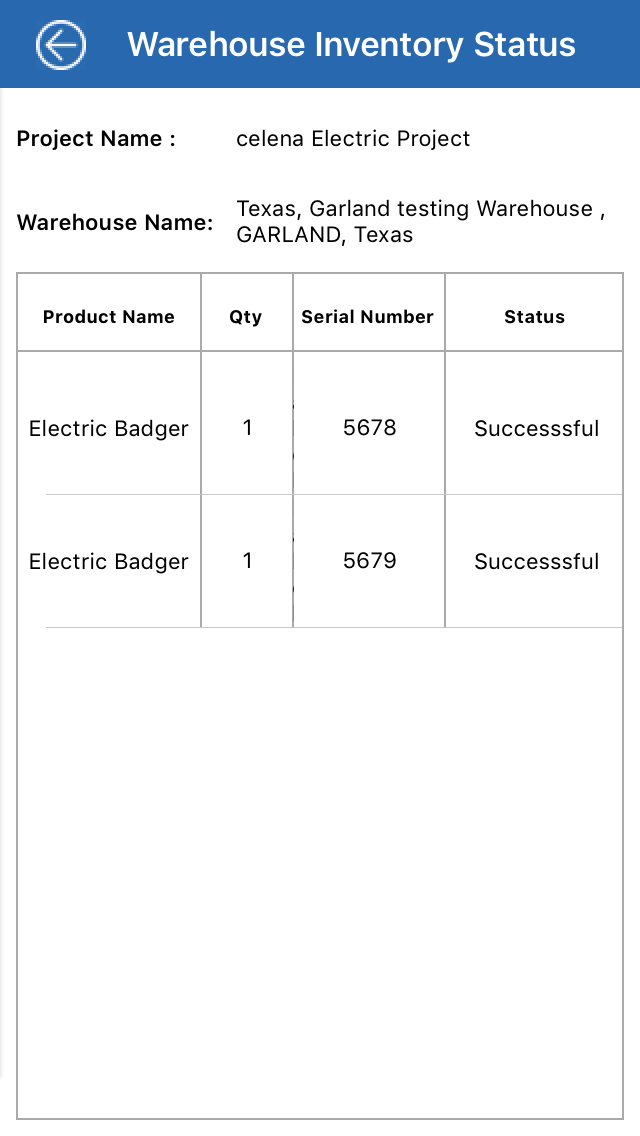
- Click on
 to view status of inventory
- Click on
 to cancel the process
- On click of Save button, following screen will open to display status of each inventory
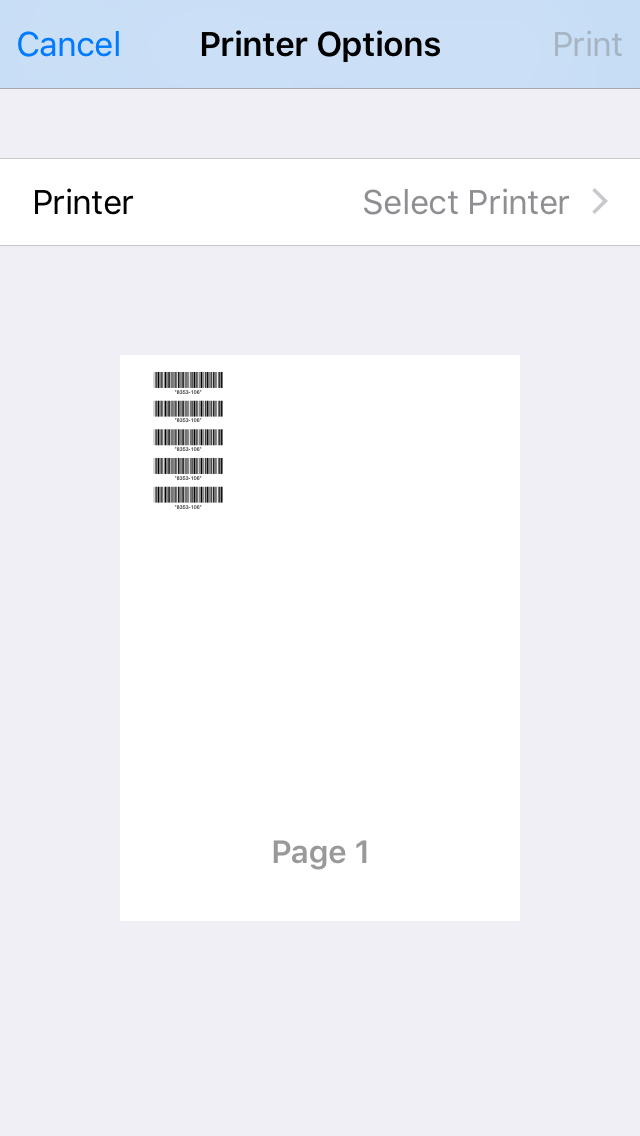
- Click on 'Print Barcode' link to open the barcode PDF
- Click on Cancel button to cancel the process
- Click on Print button to print the barcode
Created with the Personal Edition of HelpNDoc: Free Kindle producer